Thursday, May 3, 2012

Quiche Recipe

Ingredients:


 8 strips candied bacon, cooked and chopped/diced 

4 large eggs
1 1/2 cups half-and-half or whole milk
1/4 teaspoon dried leaf thyme
1/8 teaspoon pepper
1/8 teaspoon basil
1/8 teaspoon salt
1 cup shredded sharp Cheddar cheese (or any cheese you want)

1 russet potato diced and sauteed in a pan
1/4 cup of onion diced

 candied bacon

Yield: 12 slices of bacon
Cook Time: 15 min
Prep Time: 15 min

Addicting. Seriously.

Ingredients:

1/2 cup packed light brown sugar
1 teaspoon ground cinnamon
12 slices center-cut bacon (don't use extra-thick bacon)

Directions:

1. Preheat the oven to 350 degrees F. Line a rimmed baking sheet with foil and set a rack on top (like a cookie cooling rack). Spray the rack with nonstick spray.
2. Mix the sugar and cinnamon in a bowl. Dip bacon slices in the cinnamon-sugar, coating both sides, and place the coated bacon strips on the rack. I like to poke the bacon into the grooves of the rack in a few places so your bacon will come out looking a little wavy.

3. Bake 15 to 20 minutes, or until the bacon appears to be caramelized and somewhat crispy. Watch closely after 15 minutes since the sugar can begin to burn when left in too long.
Source: RecipeGirl.com


In a small bowl, whisk together the eggs, milk, thyme, basil, potato, salt and pepper. Pour into the baked crust. Crumble bacon over the top with the shredded Cheddar cheese and potatoes. Bake at 375° for about 30 minutes, or until quiche filling is set and top is lightly browned. Serve the quiche with fresh tomato wedges or a tossed salad if you want, its good all by itself!
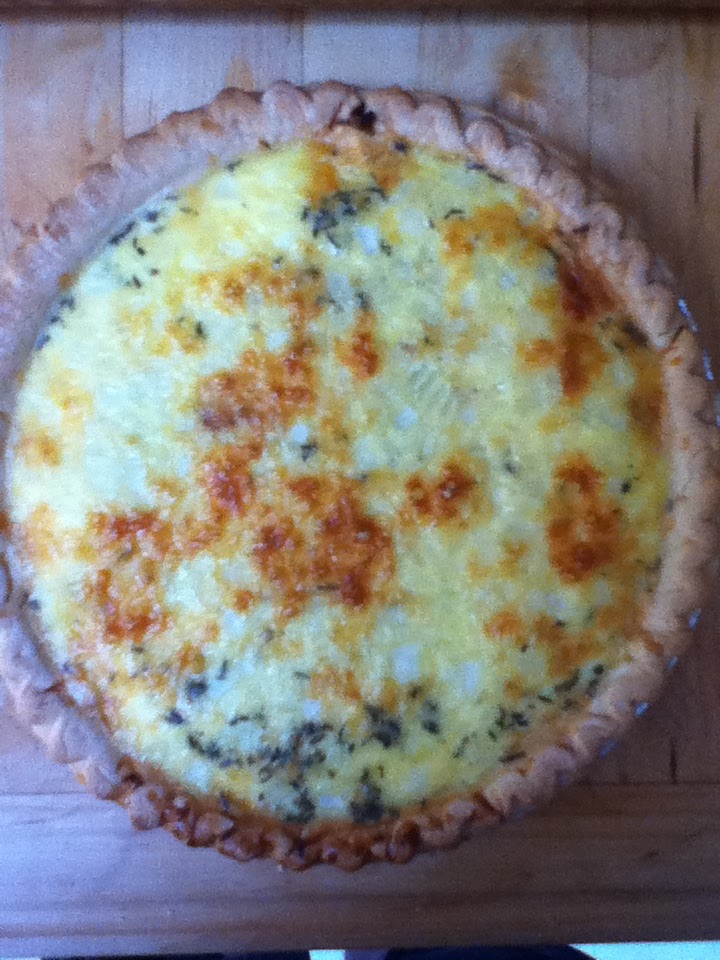
the quiche cooked at 375 F degrees for 35 minutes

adding the potatoes, bacon, cheese to the unccoked quiche

Wednesday, May 2, 2012

Hello Readers!

hello readers i would like to know what kind of recipes you would like me to try?
or would you like me to do more cooking/barbecuing recipes? or just keep doing my baking recipes?

Any comments or feedback is greatly appreciated

tiernanpaulinrae.blogspot.com

Monday, April 30, 2012

Chocolate mouse cake with a Raspberry Puree
Ingredients:
1 cup plus 1 pint of fresh raspberries
3/4 plus 2 tablespoons of sugar
4 oz semisweet chocolate, finely chopped
1/2 cup of unsalted butter
3 large eggs
1/2 cup of dutch processed cocoa powder, sifted
1 teaspoon vanilla extract
Directions
Position a rack in the middle of the oven, and preheat to 325 degrees. Butter the bottom and sides of an 8-inch spring-form pan. Line the bottom with a circle of parchment paper cut to fit.

Using a food processor or blender, process the 1 cup of raspberries until pureed strain the puree through a fine-mesh sieve into a bowl. Stir in the 2 tablespoons of sugar and set aside

Place the chopped chocolate and butter in the top of a double boiler over barely simmering water. Heat, Stirring often, until the chocolate and butter are melted. Remove from over the water and set aside to cool (so when you mix chocolate with eggs doesnt curdle/cook the eggs)

In a bowl, whisk together the 3 eggs and the 3/4 cup sugar until blended. Whisk in the melted chocolate mixture until blended completely, whisk in the cocoa powder and vanilla.

Pour batter into the prepared spring-form pan drizzle the raspberry puree over the top with a small spoon, then gently swirl or however you want to marbleized.

Bake until set about 35 minutes, then let it cool completely on a wire rack cover and refrigerate for 2-3 hours or overnight then after that run a small thin knife around the inside of the pan around the cake to loosen it and slowly lift up the pand careful not to tear the cake apart. then let stand until it reacher room temp, then add rest of raspberries on top and serve
Use whipped cream if desired:
by simply using 1/4-1/2 (however much u want) heavy whipping cream and a tablespoon of sugar) and beat on high with a whisk or whisk attachment on a kitchen-aid

william Sonoma Essentials of baking

This recipe turned out very well for me, just make sure you run the knife all around the pan when removing cake from spring-form pan, so to avoid cake being gouged or broken apart. pictures will be uploaded momentarily